
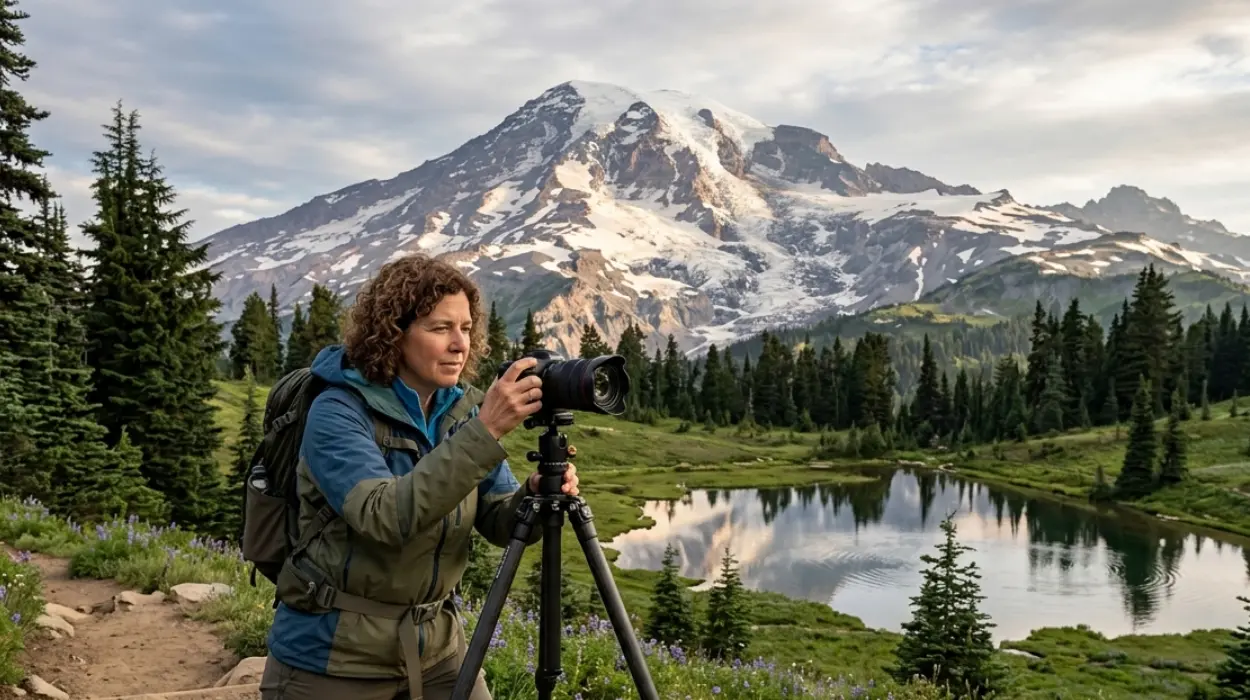
Mount Rainier National Park is a high-elevation volcanic landscape in Washington with glaciers, alpine meadows, old-growth forest, lakes, and long scenic road corridors that support landscape photography across multiple seasons. This guide explains where to shoot, when to visit, what to photograph, and how to plan an efficient, search-friendly trip for landscape images in the park.
- What makes Mount Rainier National Park a strong landscape photography destination?
- When is the best time to photograph Mount Rainier landscapes?
- Which locations work best for landscape photography?
- How should you compose Mount Rainier landscape photos?
- What gear works best for Mount Rainier landscape photography?
- How do weather and visibility affect photos?
- What practical rules matter for photographers?
- How do you build a strong shooting plan for one day?
- Why does Mount Rainier matter for evergreen SEO content?
- Which subjects should photographers prioritise?
- What should Washington photographers remember most?
What makes Mount Rainier National Park a strong landscape photography destination?
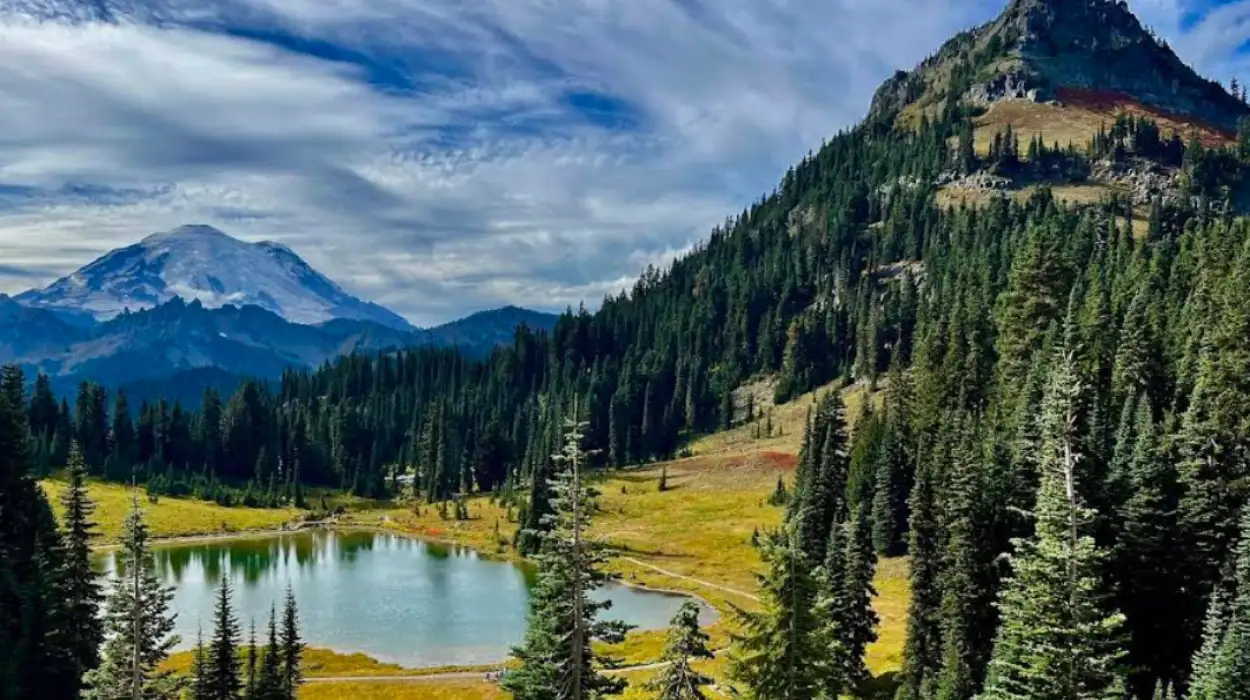
Mount Rainier National Park combines a 14,410-foot stratovolcano, glacial terrain, subalpine meadows, reflective lakes, and dense forest in one protected area. That mix creates strong foregrounds, layered compositions, seasonal variety, and clear landmark recognition for landscape photography.
Mount Rainier is one of the most visually diverse national parks in the United States. The park includes mountain viewpoints, valleys, waterfalls, meadows, and forest edges that all support different composition styles. The central peak dominates the skyline, while the surrounding terrain supplies scale, texture, and depth for wide-angle scenes.
The park’s photographic value comes from its strong seasonal contrast. Snow, ice, glacier-fed water, alpine blooms, fall colour, and winter haze each produce a different visual character. For landscape photographers, this means the same location works across multiple months with different results.
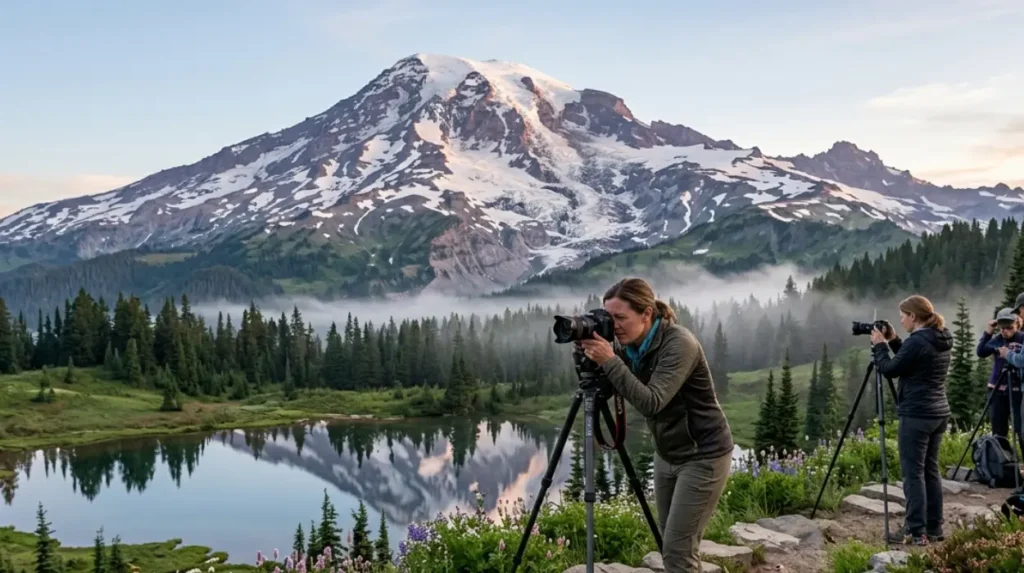
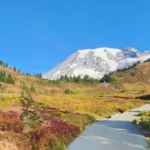
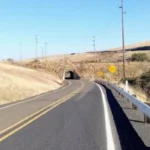
The park also supports accessible shooting zones. Paradise, Sunrise, Reflection Lakes, Tipsoo Lake, and scenic road corridors give photographers direct access to dramatic landscapes without technical mountaineering. That accessibility increases the number of usable images in a single visit.
When is the best time to photograph Mount Rainier landscapes?
Late July to early August is the strongest window for wildflower landscapes, while dawn and dusk deliver the most reliable light for mountain and lake compositions. Summer road access and clear weather windows make this the most productive period for most photographers.
Wildflowers usually begin blooming by mid-July, and many meadows reach peak visual density by the first week of August in typical years. Paradise and Sunrise are the most cited flower-heavy areas, with paintbrush, lupine, glacier lilies, avalanche lilies, beargrass, and other subalpine species appearing as snow retreats.
Reflection Lakes is seasonal and typically open only in summer, generally from late June through September, which makes that period the main window for lake-and-mountain reflections. Morning often provides the calmest water and softest light for mirrored scenes.
Fall photography also performs well. Late September through mid-October produces autumn colour in some areas, with conditions varying by elevation and weather. Winter and early spring create a stronger contrast, but access can be limited by snow and road conditions.
Which locations work best for landscape photography?
Paradise, Reflection Lakes, Sunrise, Tipsoo Lake, and the park’s forest corridors are the most useful landscape photography locations. Each location offers a different composition type, including meadows, reflections, high viewpoints, flowers, and trees.
Paradise is the most versatile location for broad scenic coverage. It combines easy access, open meadows, and strong views of Mount Rainier, which supports both wide establishing shots and tighter landscape frames. Myrtle Falls on the Skyline Trail adds foreground water and a classic mountain backdrop.
Reflection Lakes is the park’s best-known reflection location. It sits along Stevens Canyon Road, usually accessible in summer, and produces a clear mountain reflection when the wind is low. The site works best at dawn because still water and low-angle light improve contrast and colour.
Sunrise offers the park’s highest accessible viewpoints by vehicle and strong panoramic sightlines toward the mountain, glaciers, and valley systems. Tipsoo Lake also gives useful foreground reflections and wildflower edges near Chinook Pass. Forest areas, including old-growth zones, add darker, textured scenes and provide balance when mountain visibility drops.
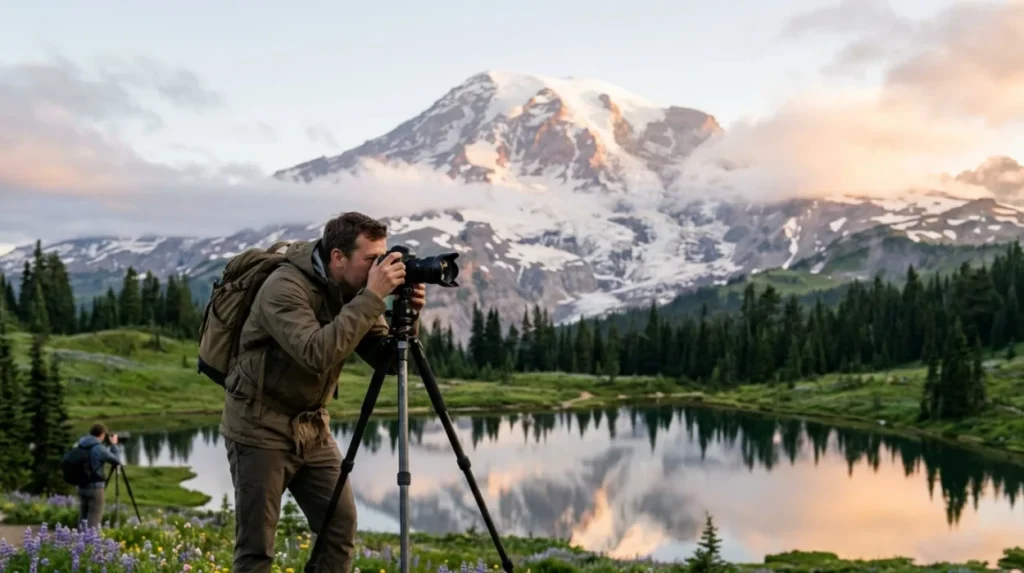
How should you compose Mount Rainier landscape photos?
Strong Mount Rainier compositions use a clear foreground, a midground layer, and the mountain as the main background anchor. Reflection, leading lines, frame-within-frame structure, and weather layers all improve depth and visual order.
Foreground subjects matter because the mountain fills a large portion of the scene. Wildflowers, logs, water edges, rocks, trail curves, and tree silhouettes all help create scale. Without foreground structure, many frames become flat and over-reliant on the summit alone.
Midground elements separate the image into readable layers. Lakes, meadows, river bends, and slope transitions create depth between the viewer and the mountain. This layering is especially effective when low clouds or snowfields cut horizontal bands through the frame.
Weather is part of the composition, not a problem to remove. Passing cloud, mist, fresh snow, and sunset colour often increase image quality because they add shape and contrast. A clean summit under a plain sky is less useful than a mountain with atmospheric texture.
What gear works best for Mount Rainier landscape photography?
A wide-angle lens, a mid-telephoto lens, a tripod, spare batteries, rain protection, and weather-ready clothing form the core kit. These items handle mountain scale, reflections, low light, and rapid weather change.
A wide-angle lens works well for meadows, lakes, and sweeping mountain views. It captures the full scale of the landscape and keeps foreground elements prominent. A telephoto lens helps isolate peak details, glacier textures, and compressed layers when the mountain is partially obscured by haze or cloud.
A tripod supports long exposures at sunrise, sunset, and in forest shade. It also improves sharpness when photographing water reflections and moving clouds. A polariser can reduce glare on water and foliage, although careful use is needed because over-polarising broad sky areas creates uneven tonality.
Weather protection matters because conditions change quickly on the mountain. Rain covers, lens cloths, warm layers, gloves, and footwear with grip help maintain shooting time in changing conditions. Battery life also drops in colder weather, so spares are important.
How do weather and visibility affect photos?
Mount Rainier weather changes fast, and visibility often shifts by the hour. Clear views, cloud cover, fog, and snowfall all produce different photographic outcomes, so planning around webcams and conditions improves success.
The park advises visitors to check live webcams before travelling because mountain weather changes rapidly. This is especially useful for deciding whether the summit is visible, whether parking areas are full, and whether a sunrise plan is likely to work. Webcams at Paradise and other zones update frequently, which helps reduce wasted travel time.
Cloud is not always negative. Partial cloud can improve mountain images by adding shape around the summit and separating the peak from the sky. Thin fog can also turn forest scenes into softer, more atmospheric compositions.
Heavy rain, snow, and low cloud can block long-range views but improve intimate landscape photography. Streams, moss, tree trunks, and close meadow detail become stronger subjects when the mountain is hidden. That shifts the focus from grand vista to texture and mood.
What practical rules matter for photographers?
Photographers must follow park rules on access, cashless payments, drones, and seasonal closures. Timed entry is not required in 2026, but entrance passes are required, drones are prohibited, and some areas remain closed.
All visitors need an entrance pass, and the park does not accept cash. Standard vehicle passes, annual passes, and America the Beautiful passes are accepted, and different pass types fit different visit patterns. This matters for photographers making repeated sunrise or sunset trips.
The park prohibits drone use inside Mount Rainier National Park. That restriction protects visitor safety, wildlife, and wilderness character. Landscape photographers should plan around ground-based viewpoints and legal handheld or tripod work only.
Some locations change with closures and construction. The Grove of the Patriarchs is closed to public entry due to bridge damage, with replacement construction scheduled for summer 2027. Timed entry reservations are not required anywhere in the park in 2026, but parking management and congestion remain relevant on busy days.
How do you build a strong shooting plan for one day?
A productive one-day plan starts before sunrise, focuses on one main zone, and leaves time for weather changes and road delays. The best workflow combines a summit viewpoint, a meadow or lake stop, and a sunset location.
Begin with early access to a primary location such as Paradise, Sunrise, or Reflection Lakes, depending on season and road conditions. Early arrival helps secure parking and increases the chance of calm water and softer light. Sunrise is valuable for panoramic views, while Reflection Lakes is stronger for reflections.
After the first shoot, move to a secondary location that offers a different landscape structure. Paradise Meadows, Skyline Trail viewpoints, or forest zones provide visual contrast and help build a varied portfolio on one day. This approach improves editorial value and reduces repetitive frames.
Leave room for weather resets. Mount Rainier often shifts from clear summit to full cloud cover and back again within a single day. Flexible timing produces better images than a fixed, overpacked route.
Why does Mount Rainier matter for evergreen SEO content?
Mount Rainier works well for evergreen SEO because it combines a stable place name, durable travel intent, recurring seasonal interest, and clear subtopics such as best locations, timing, gear, weather, and access. These themes remain useful year after year.
Search intent around Mount Rainier landscape photography stays strong because users want location guidance, seasonal timing, and practical visit planning. The park’s major photography spots do not change often, and the core travel questions repeat every year. That makes the topic suitable for long-lived content that can rank for both search engines and AI answer systems.
The best evergreen structure uses one main entity, then supports it with related entities such as Paradise, Sunrise, Reflection Lakes, wildflowers, webcams, and entrance passes. This creates semantic depth and helps answer related queries without drifting off topic.
For best results, the article should consistently use factual location language, seasonal windows, and park rules. That combination supports authority, extraction, and practical value for Washington readers and broader national park audiences.
Which subjects should photographers prioritise?
Photographers should prioritise the mountain itself, wildflower meadows, reflective lakes, glacier details, and forest edges. These five subject groups cover the park’s main visual identity and produce the strongest landscape portfolio variety.
The mountain is the anchor subject. It gives the park instant identity and works in nearly every weather condition when visible. Wide shots, compressed telephoto views, and partial cloud compositions all work around the same central landmark.
Wildflower meadows are the strongest seasonal subject, especially from mid-July into early August. Reflection Lakes and Tipsoo Lake support mirror-style scenes, while glaciers and snowfields add texture and elevation cues. Forests provide a darker tonal contrast and are useful when open viewpoints are obscured.
A complete Mount Rainier portfolio includes broad scenes and narrow details. That balance matters because the park’s visual strength lies in scale, but its best images often come from careful subject selection rather than a single postcard view.
What should Washington photographers remember most?
Washington photographers should treat Mount Rainier as a season-sensitive, weather-driven landscape system. The strongest results come from early timing, flexible planning, legal access, and compositions built around mountain scale, flowers, reflections, and light.
The park rewards preparation because scenery, road access, and conditions change quickly. A good plan uses the season to choose the right zone, such as Paradise for flowers or Reflection Lakes for water reflections. It also respects closures, fees, and drone restrictions.
What makes Mount Rainier National Park good for landscape photography?
Mount Rainier National Park is one of the best landscape photography destinations in Washington because it combines glaciers, alpine meadows, lakes, waterfalls, forests, and a 14,410-foot volcanic peak in one park. The mountain creates a strong focal point, while the surrounding terrain adds depth, texture, and seasonal variety.


